Running R for this course
You do not need to install anything on your machine for this course as we will provide access to a temporary remote cluster.
For the first part of this course, we will run R on a RStudio server running on the temporary cluster.
RStudio is an IDE that provides a friendly interface to run R interactively. It is a great way to develop code and it makes profiling easy.
For the second part, we will log in to the same temporary cluster using Secure Shell, then run R scripts from the command line.
Once you have developed your code in an interactive fashion, running scripts allows you to request large hardware resources only when you need them (i.e. when your code is executed).
This prevents these heavy resources from sitting idle when not in use, as would happen in an interactive session.
This will save you a lot of money if you use a commercial cluster. If you use the Alliance clusters, it will save you lots of waiting time until you can run your code (the more resources you ask, the more time you have to wait to have access to them).
Note that this cluster is only available during the course.
Accessing the temporary RStudio server
A username, a password, and the URL of the RStudio server will be given to you during the workshop.
Sign in using the username and password you will be given while ignoring the OTP entry. This will take you to the server options page of a JupyterHub.
Select the following server options:
- Time: 4 hours
- Number of cores: 1
- Memory: 3700 MB
- User interface: JupyterLab
Then press “Start” to launch the JupyterHub. There, click on the “RStudio” button and the RStudio server will open in a new tab.
Using RStudio
For those unfamiliar with the RStudio IDE, you can download the following cheatsheet:
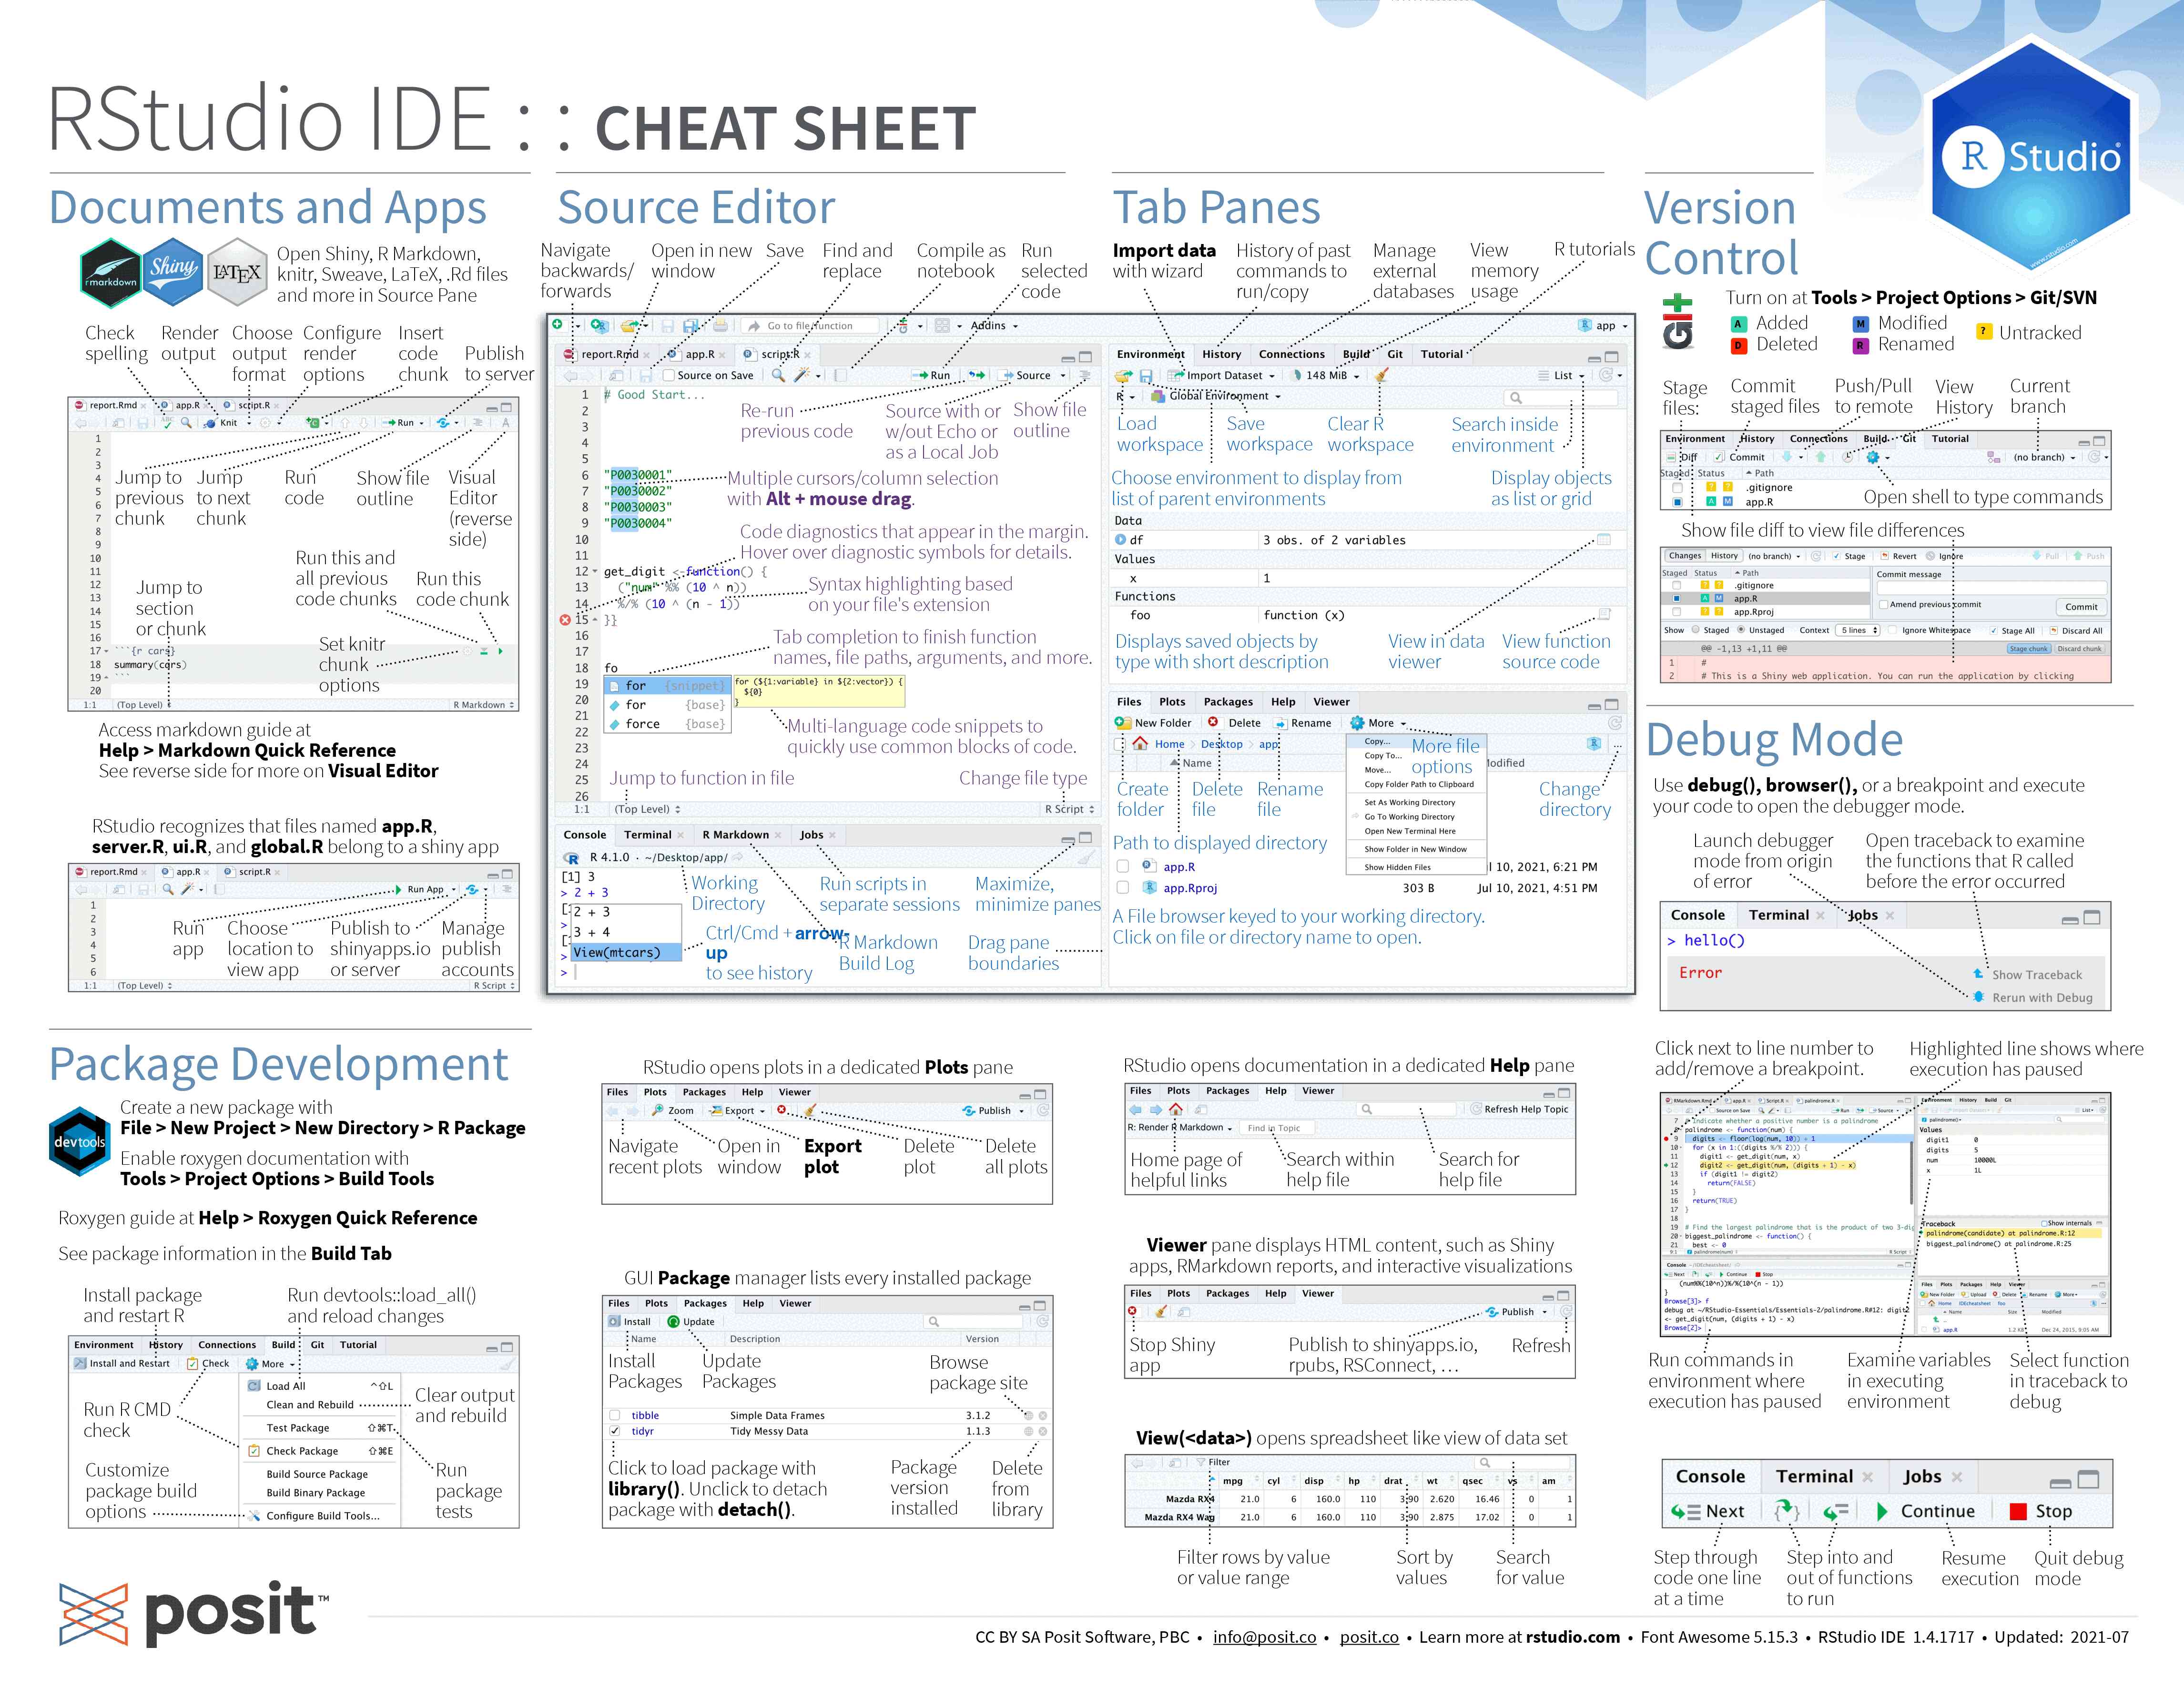
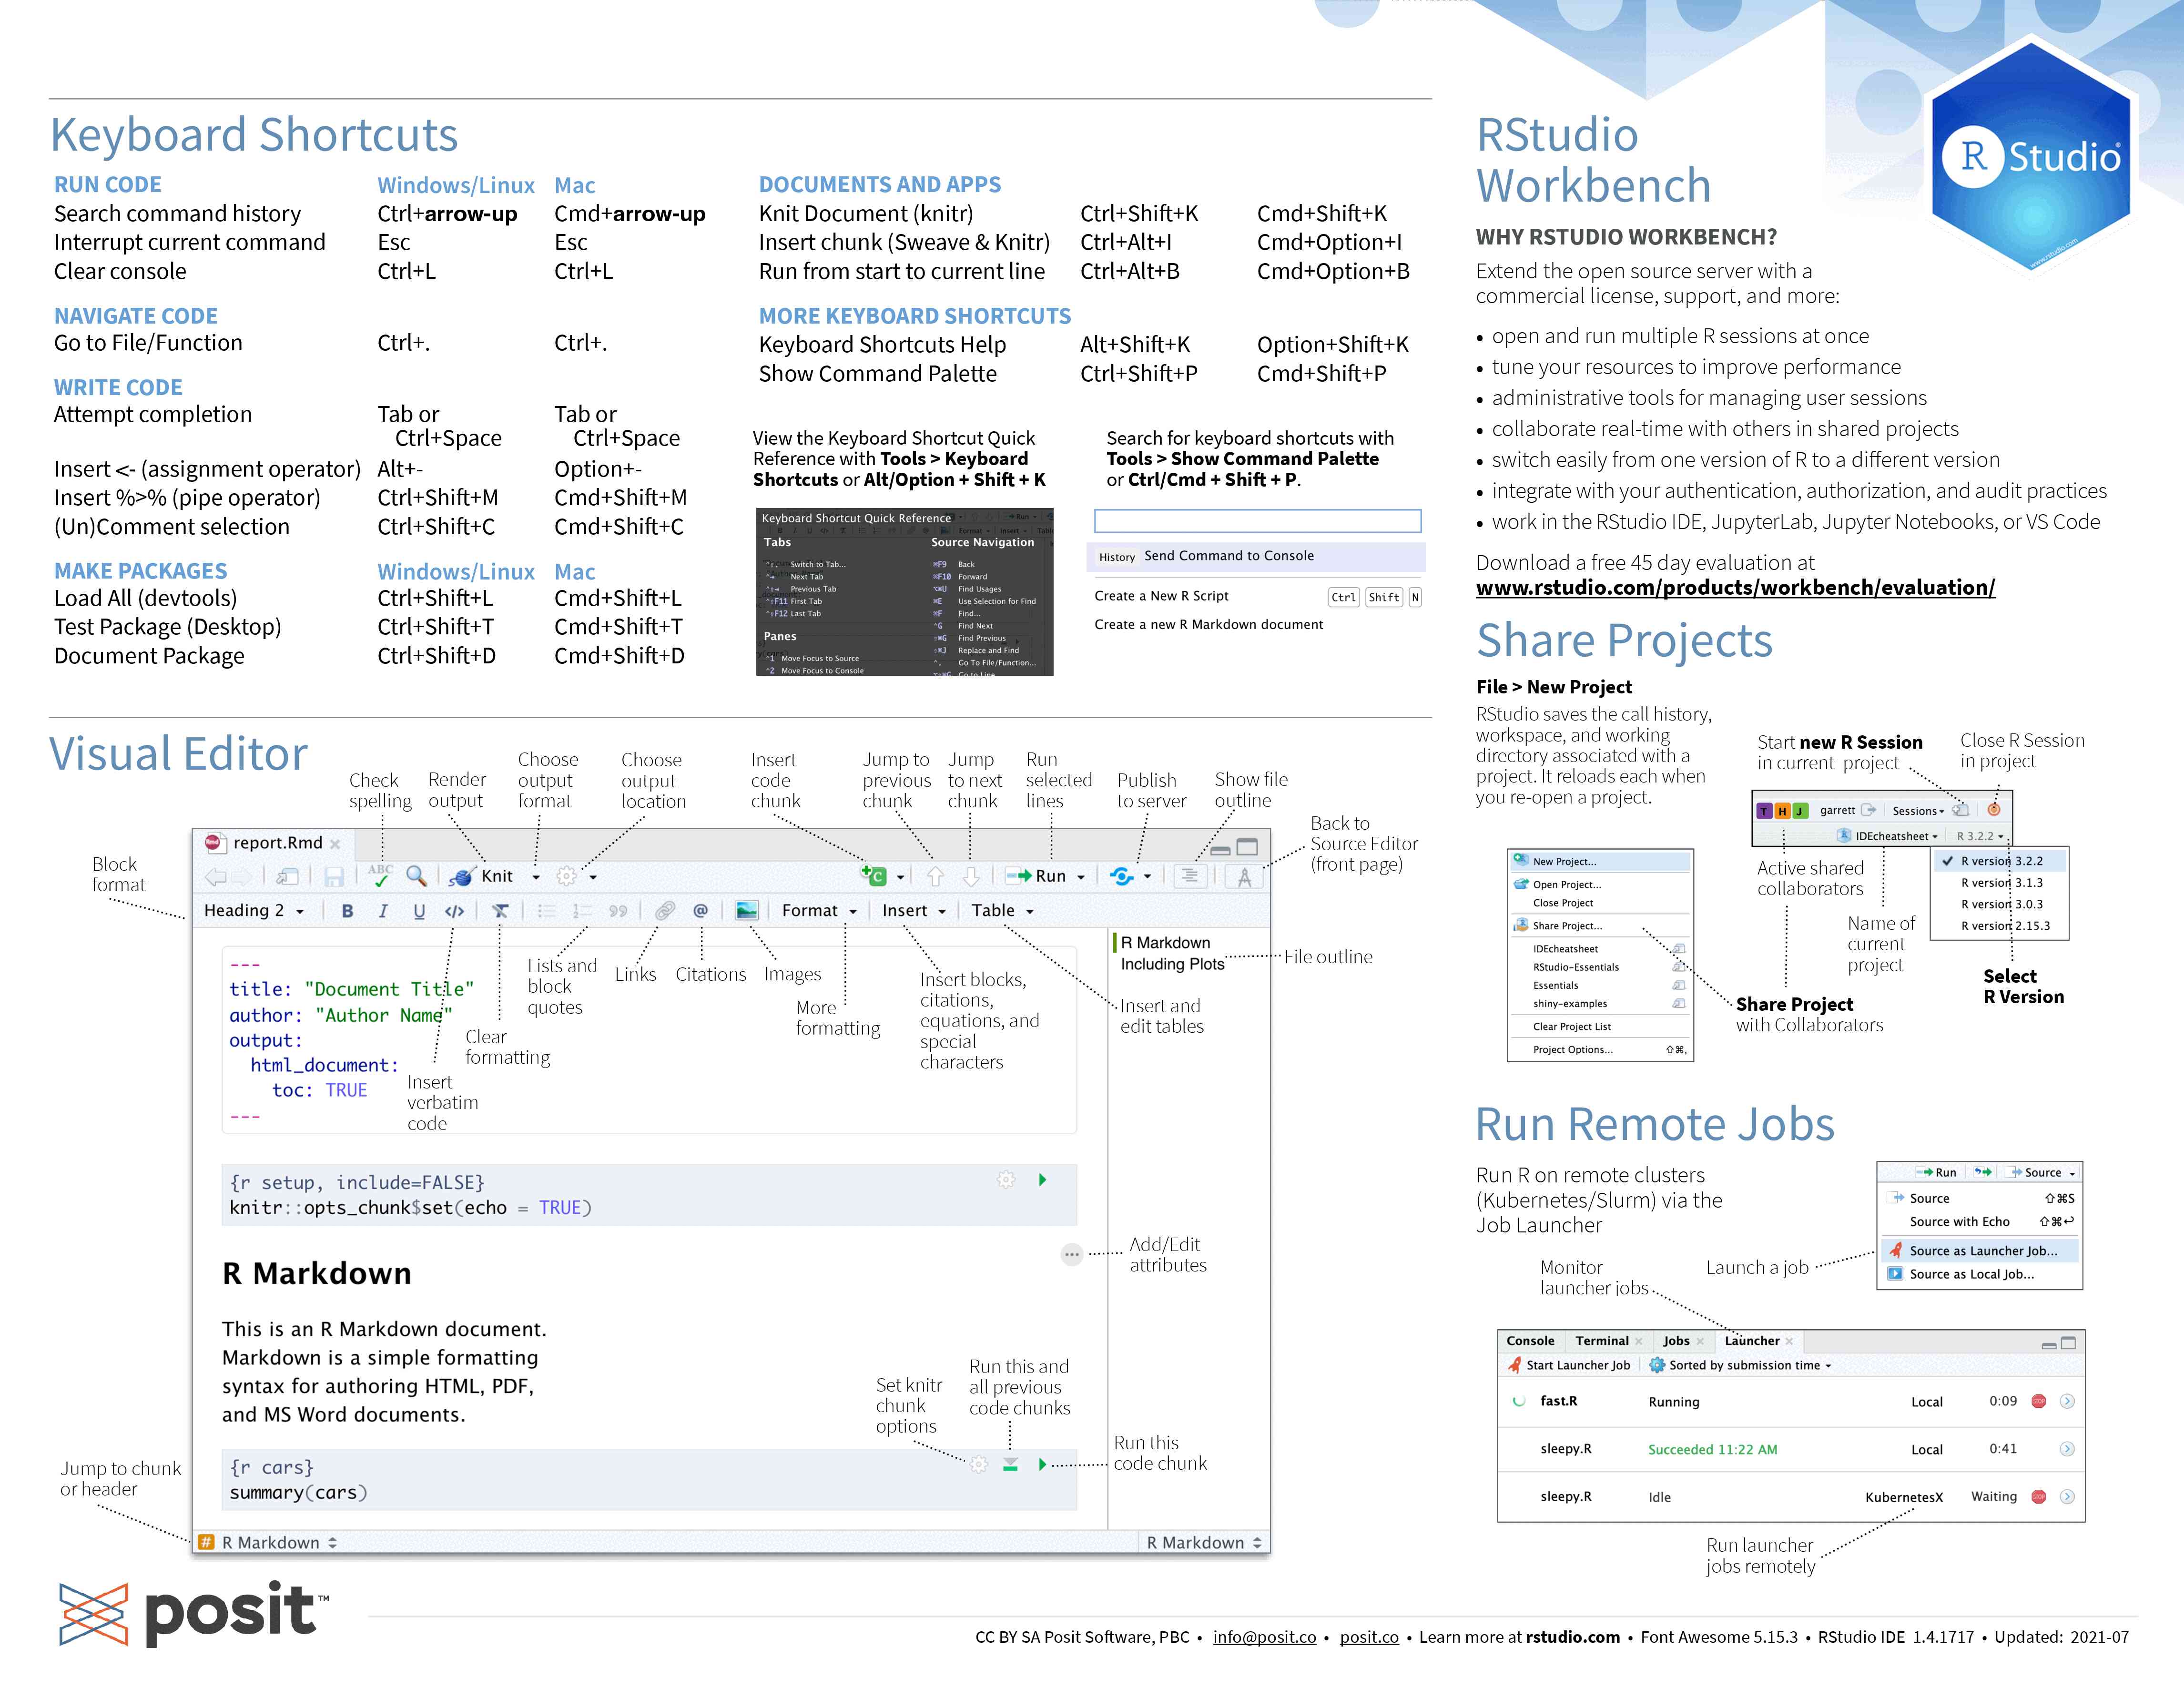
from Posit Cheatsheets
Log in to the temporary cluster through SSH
Before leaving the JupyterHub, log out of the session: this is very important as it relinquishes the job you were using with the JupyterHub session. It will make resources available again for the next step of this workshop. In your future life, it is a good habit to have: if you ever pay for a JupyterHub server, it will also save you money.
For this, select “File” in the top menu, and at the bottom of the drop down menu click on “Log Out”.
We will give you the hostname during the workshop. Your username and password are the same as the ones you used for the RStudio server.
Open a terminal emulator
Windows users: install the free version of MobaXTerm and launch it.
MacOS users: launch Terminal.
Linux users: open the terminal emulator of your choice.
Access the cluster through secure shell
Windows users
Follow the first 18% of this demo.
For “Remote host”, use the hostname we gave you.
Select the box “Specify username” and provide your username.
Note that the password is entered through blind typing, meaning that you will not see anything happening as you type it. This is a Linux feature. While it is a little disturbing at first, do know that it is working. Make sure to type it slowly to avoid typos, then press the “enter” key on your keyboard.
MacOS and Linux users
In the terminal, run:
ssh <username>@<hostname>Replace the username and hostname by their values. For instance:
ssh user021@somecluster.c3.caYou will be asked a question, answer “Yes”.
When prompted, type the password.
Note that the password is entered through blind typing, meaning that you will not see anything happening as you type it. This is a Linux feature. While it is a little disturbing at first, do know that it is working. Make sure to type it slowly to avoid typos, then press the “enter” key on your keyboard.
Troubleshooting
Problems logging in are almost always due to typos. If you cannot log in, retry slowly, entering your password carefully.